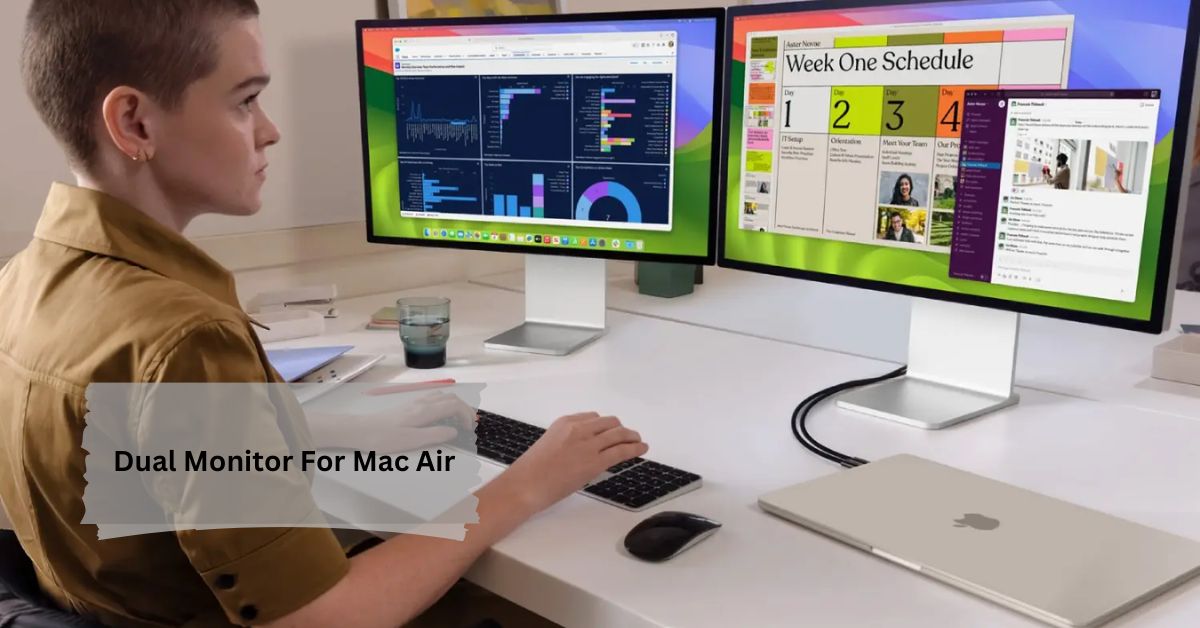
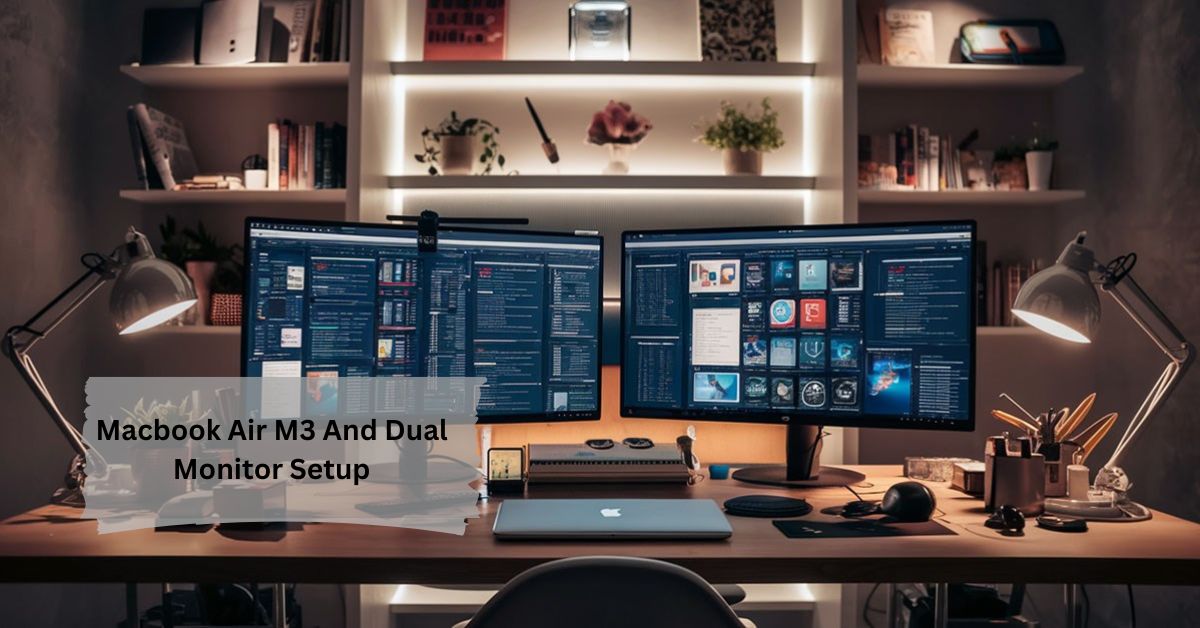
In an era where digital work dominates our daily lives, the need for efficient multitasking has never been more critical. For MacBook Air users, leveraging a dual monitor setup can significantly enhance productivity, enabling you to manage multiple tasks seamlessly and create an organized workflow.
Setting up dual monitors for your MacBook Air significantly enhances productivity by providing increased screen space for multitasking and improved collaboration, making it easier to manage various tasks seamlessly.
Whether you’re a graphic designer, a programmer, a financial analyst, or a student, dual monitors can transform your work experience. In this comprehensive guide, we’ll delve deep into the benefits of using dual monitors with your MacBook Air, provide detailed setup instructions, and offer expert tips for optimizing your dual monitor experience.
Why Choose Dual Monitors for Your MacBook Air?
1. Increased Screen Real Estate
Imagine a workspace where you no longer have to toggle back and forth between applications. With a dual monitor setup, you can expand your virtual real estate significantly. Here’s how this increased screen space can enhance your productivity:
- Visual Workflow: Many professionals report feeling more organized when they can see all necessary applications at once. For instance, writers can have their research documents on one screen while drafting their articles on another. This visual workflow minimizes distractions and allows for quicker information retrieval.
- Data Comparison: Analysts often work with spreadsheets and databases. Having one monitor dedicated to data input and another for data analysis makes it easy to spot trends and discrepancies without losing focus. The ability to compare figures side by side can lead to better decision-making and faster insights.
2. Improved Multitasking
The demands of modern work often require juggling several tasks at once. A dual monitor setup allows for smoother multitasking, providing distinct benefits:
- Real-Time Collaboration: For those who work in teams, dual monitors facilitate real-time collaboration. You can have a video conferencing app open on one monitor while sharing files and editing documents on the other. This setup is invaluable in environments where swift decision-making is essential.
- Educational Enhancement: Students, especially those enrolled in online courses, can benefit greatly from dual monitors. One screen can display lecture materials while the other can be used for note-taking or assignments. This arrangement not only helps in retaining information but also encourages active engagement during lectures.
3. Enhanced Collaboration
In today’s remote work environment, the ability to collaborate effectively is paramount. A dual monitor setup can elevate your collaborative efforts:
- Presenting with Ease: If you’re frequently called upon to present your work, dual monitors can simplify the process. You can present slides on one monitor while keeping your notes and audience feedback visible on the other. This duality creates a more engaging presentation style and helps maintain audience interaction.
- Efficient Team Meetings: During virtual meetings, you can share one screen while using the other to keep track of chat messages, participant video feeds, and additional reference materials. This functionality keeps you engaged in discussions without sacrificing your focus.
Setting Up Dual Monitors with Your MacBook Air
1. Choosing the Right Monitors
When selecting monitors for your MacBook Air, it’s essential to make informed choices that suit your workflow:
- Resolution Matters: Higher resolution monitors provide better clarity and detail. While Full HD (1920×1080) is standard, consider 4K monitors for creative work involving detailed graphics or video editing. The difference in clarity is significant, especially for tasks requiring precise visual representation.
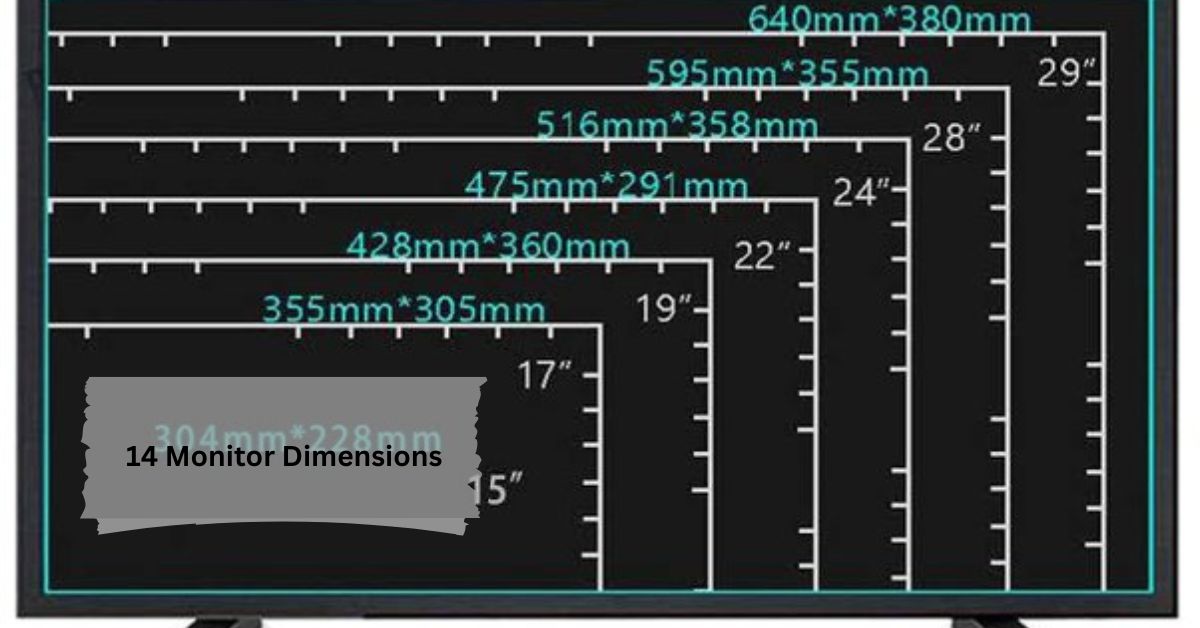
- Size and Space: Choose monitor sizes that fit your workspace comfortably. While larger monitors (27-32 inches) offer more viewing area, ensure they don’t overwhelm your desk or strain your neck. Additionally, consider how your monitor placement affects your posture to prevent long-term discomfort.
- Panel Type: Invest in IPS (In-Plane Switching) panels for superior color accuracy and wider viewing angles. This is especially crucial for those in graphic design, photography, or video editing, where color fidelity is paramount.
2. Connecting Your Monitors
MacBook Air models predominantly feature USB-C ports. Here’s how to connect your monitors efficiently:
- Direct Connection: If your monitors support USB-C connections, you can connect them directly to your MacBook Air. This method reduces cable clutter and often allows for higher data transfer speeds.
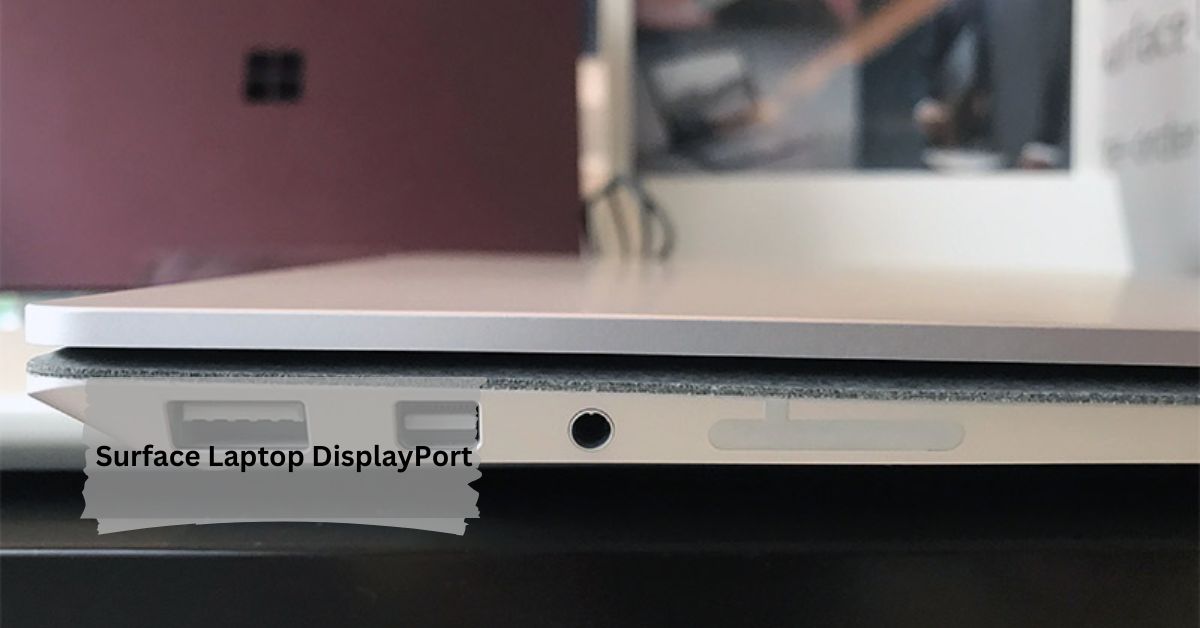
- Using Adapters: For monitors with HDMI or DisplayPort inputs, you’ll need a USB-C to HDMI or DisplayPort adapter. Make sure to choose quality adapters to avoid connectivity issues.
- Daisy-Chaining: Some monitors allow daisy-chaining via DisplayPort. This feature can simplify your setup by enabling multiple monitors to connect through a single USB-C port, reducing the number of cables and maximizing your workspace.
3. Configuring Display Settings
Once your monitors are connected, you’ll need to configure them for optimal performance:
- Open System Preferences: Click on the Apple menu and select “System Preferences,” then click on “Displays.”
- Adjust Resolution and Arrangement: You can choose the resolution for each monitor and arrange them based on their physical layout. This arrangement helps your cursor flow naturally from one screen to the other.
- Primary Display Setup: Designate which monitor will be your primary display. This is where your menu bar and desktop icons will appear. It’s typically best to set your main monitor as the one you use most frequently for tasks.
4. Using macOS Features for Dual Monitors
- Mission Control: Leverage macOS’s Mission Control feature, which allows you to see all open windows across your monitors. You can create separate Spaces (virtual desktops) for different tasks, making it easy to switch contexts without clutter.
- Split View: MacOS offers a Split View feature that lets you display two applications side by side on one monitor. To activate it, click and hold the green maximize button on a window and select another app to fill the other half of the screen. This feature is particularly useful for writing emails while referencing a document.
Tips for Optimizing Your Dual Monitor Setup
1. Ergonomics Matter
Proper ergonomics can prevent strain and discomfort during long working hours:
- Monitor Height: Place your displays’ tops at eye level or just below.This position minimizes neck strain and encourages good posture. Your gaze should naturally fall slightly downward when looking at the screen.
- Distance: Keep the monitors about an arm’s length away. This distance helps reduce eye strain and provides a comfortable viewing experience, especially during extended sessions.
2. Adjust Brightness and Color Settings
To enhance your viewing experience, adjust the brightness and color settings of your monitors:
- Brightness Levels: Ensure that the brightness levels of your monitors are consistent to avoid eye fatigue. Use an app like f.lux to adjust screen temperature according to the time of day, reducing blue light exposure in the evenings.
- Color Calibration: Utilize built-in calibration tools or third-party applications to ensure your monitors display colors accurately. This is particularly important for professionals in creative fields who rely on true color representation.
3. Utilize Keyboard Shortcuts
Mastering keyboard shortcuts can significantly enhance your productivity:
- Window Management Shortcuts: Use Command + Tab to quickly switch between applications and Control + Arrow keys to navigate between different Spaces. These shortcuts can save valuable time, especially when working on multiple projects.
- Application-Specific Shortcuts: Familiarize yourself with shortcuts specific to the applications you use most frequently. For example, in text editors, shortcuts for formatting or navigating through text can greatly speed up your work.
4. Consider Third-Party Apps
Enhance your dual monitor experience with applications designed to improve productivity:
- Magnet: This window management app allows you to snap windows into place, enabling you to arrange your workspace quickly. You can easily divide screens into thirds, halves, or quarters, depending on your needs.
- BetterSnapTool: Similar to Magnet, BetterSnapTool provides enhanced features for window management, allowing you to create custom snap areas. This can be particularly helpful for users who want specific layouts for different tasks.
5. Personal Experience and Anecdotes
Having personally transitioned to a dual monitor setup with my MacBook Air, I can attest to the remarkable difference it makes in productivity. Initially, I struggled with juggling tasks during work projects, constantly switching between tabs and losing focus. After setting up two monitors, I noticed an immediate improvement.
For instance, during a recent project, I was able to simultaneously edit a report on one screen while analyzing data on another. This not only saved me time but also allowed me to catch errors more effectively. Moreover, the dual monitors facilitated smoother collaboration during virtual meetings with my team, as I could refer to shared documents while keeping track of our discussions.
Conclusion:
Setting up dual monitors for your MacBook Air is a powerful way to boost productivity, streamline your workflow, and enhance your overall work experience. The benefits—ranging from increased screen real estate and improved multitasking to enhanced collaboration—are invaluable for anyone looking to maximize their efficiency in today’s demanding work environment.
FAQs
1. What are the benefits of using dual monitors with a MacBook Air?
Dual monitors provide increased screen real estate, improved multitasking capabilities, and enhanced collaboration during meetings or presentations.
2. How do I connect dual monitors to my MacBook Air?
You can connect dual monitors using USB-C ports directly or with HDMI/DisplayPort adapters. Some monitors also allow daisy-chaining to minimize cable clutter.
3. What monitor specifications should I consider for my MacBook Air?
Look for monitors with higher resolutions (like 4K), appropriate sizes (27-32 inches), and IPS panel types for better color accuracy and viewing angles.
4. How can I optimize my dual monitor setup?
To optimize, ensure proper monitor height and distance for ergonomics, adjust brightness and color settings for comfort, and use keyboard shortcuts for efficient navigation.
5. What apps can enhance my dual monitor experience?
Apps like Magnet and BetterSnapTool can help manage window arrangements effectively, allowing you to create customized layouts for improved productivity.












Leave a Reply