Resetting your monitor is a useful skill that can help resolve a range of display issues, including problems with color accuracy, screen flickering, and unresponsive controls.
Resetting your monitor can resolve various display issues like color distortion, screen flickering, and unresponsive controls by restoring the monitor to its factory settings. Following a few simple steps, you can easily reset your monitor and ensure optimal performance.
Whether you’re a gamer looking to restore optimal performance, a designer needing accurate color representation, or a casual user dealing with an unresponsive display, knowing how to reset your monitor can save you time and frustration.
Recognizing the Need for a Reset of the Monitor
Over time, regular use of your monitor, along with frequent adjustments to its settings, can lead to a variety of issues. These might include:
Color Calibration Issues:
Adjusting settings like brightness, contrast, and color balance can sometimes distort the overall display quality.
Screen Flickering:
Incorrect settings can cause your screen to flicker or display inconsistencies.
Unresponsive Controls:
The monitor’s buttons or menu options might stop working correctly after numerous adjustments.
Resetting the monitor to its factory settings can help resolve these problems, returning the display to its original, default state.
Step 1: Document Your Current Settings
Before proceeding with a reset, it’s advisable to note your current monitor settings. This is especially important if you’ve made specific adjustments to suit your preferences. Record details such as:
Brightness and Contrast Levels:
These settings impact how vivid or dim your display appears.
Color Temperature:
This setting affects the warmth or coolness of the colors on your screen.
Resolution and Refresh Rate:
These settings are crucial for ensuring smooth visuals, especially for gamers and video editors.
Having a record of these settings allows you to easily revert back if needed.
Step 2: Access the Monitor’s On-Screen Display (OSD) Menu
The OSD menu is your gateway to all the settings on your monitor. Here’s how to access it:
- Turn on the monitor and ensure it’s connected to your computer.
- Locate the Menu button. This is usually found on the front, side, or bottom edge of the monitor, depending on the model.
- Press the Menu button. The OSD menu should appear on your screen, allowing you to navigate through various settings using the arrow buttons.
Step 3: Navigate to the Reset Option
Once inside the OSD menu, you’ll need to find the reset option:
- Browse through the OSD menu to find a section labeled Settings, Setup, Options, or System. The exact naming might vary depending on your monitor’s brand and model.
- Look for a reset option such as Factory Reset, Reset All, or Restore Defaults.
- When asked, select the reset option and affirm your selection. This action will revert your monitor to its original factory settings.
Step 4: Test the Monitor After Resetting
After the reset process is complete, it’s important to test your monitor to ensure the reset has resolved any issues. Here’s what to look for:
- Color Accuracy: Check if the colors are displaying correctly without any distortion.
- Screen Stability: Ensure that there is no flickering or other display issues.
- Functionality of Controls: Test the monitor’s buttons and menu options to make sure they’re responsive.
If the problem persists after the reset, there could be other factors at play, such as outdated graphics drivers or issues with your computer’s hardware.
Resetting Monitors by Brand
Different monitor brands have unique OSD layouts and reset procedures. Here’s how to reset monitors from some of the most popular brands:
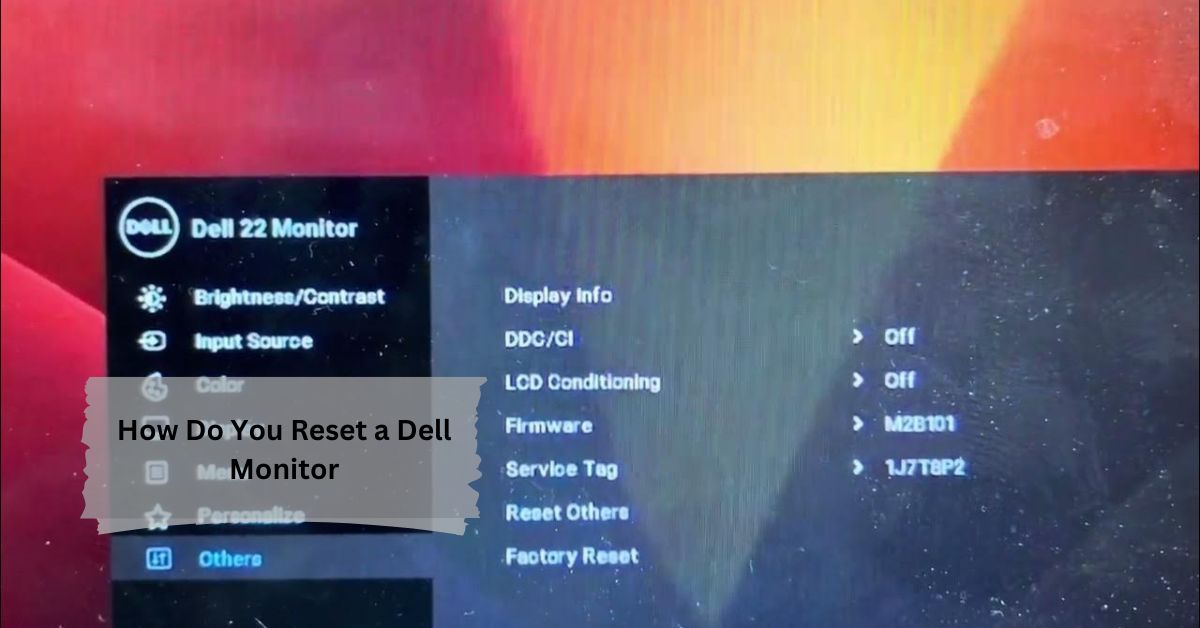
1. Dell Monitors
Dell monitors are widely used in both professional and personal settings. To reset:
- Press the Menu button to access the OSD.
- Navigate to the Other Settings section.
- Select Factory Reset and confirm the action.
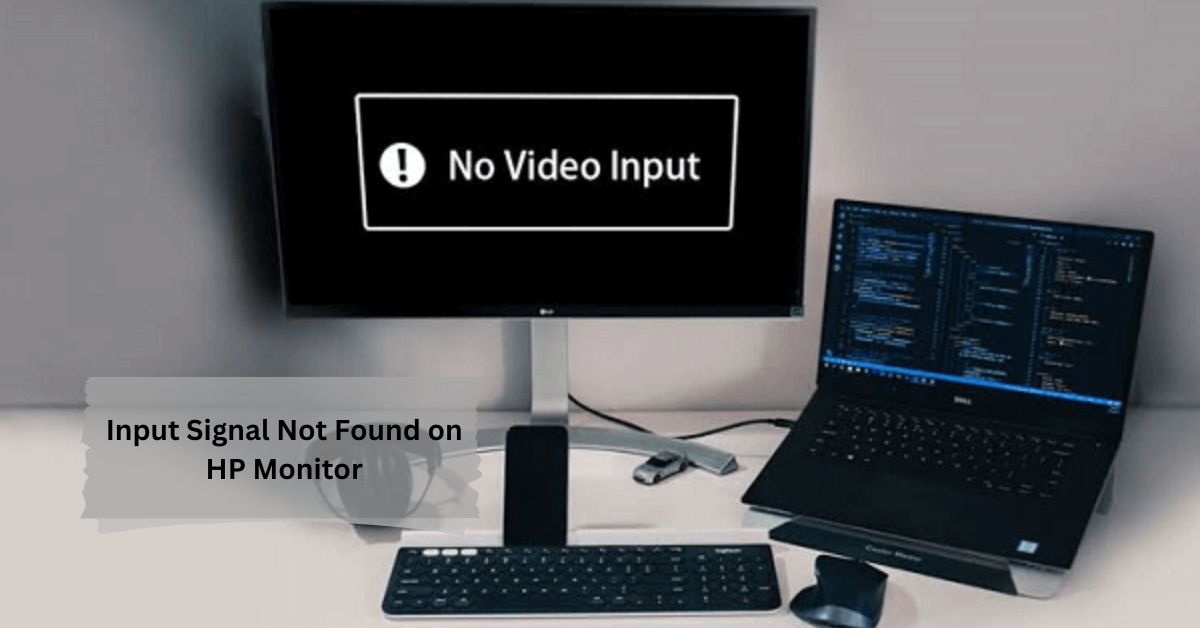
2. HP Monitors
HP monitors are known for their reliability. To reset:
- Press the Menu button to open the OSD.
- Go to Management or Settings depending on your model.
- Select Factory Reset and confirm the action.
3. Samsung Monitors
Samsung monitors are popular for their high-quality displays. To reset:
- Access the OSD by pressing the Menu button.
- Navigate to the System or Support section.
- Choose Reset All or Factory Reset and confirm the action.
4. LG Monitors
LG monitors are favored for their color accuracy and design. To reset:
- Press the Menu button to bring up the OSD.
- Go to the General or Settings section.
- Select Reset to Initial Settings and confirm the action.
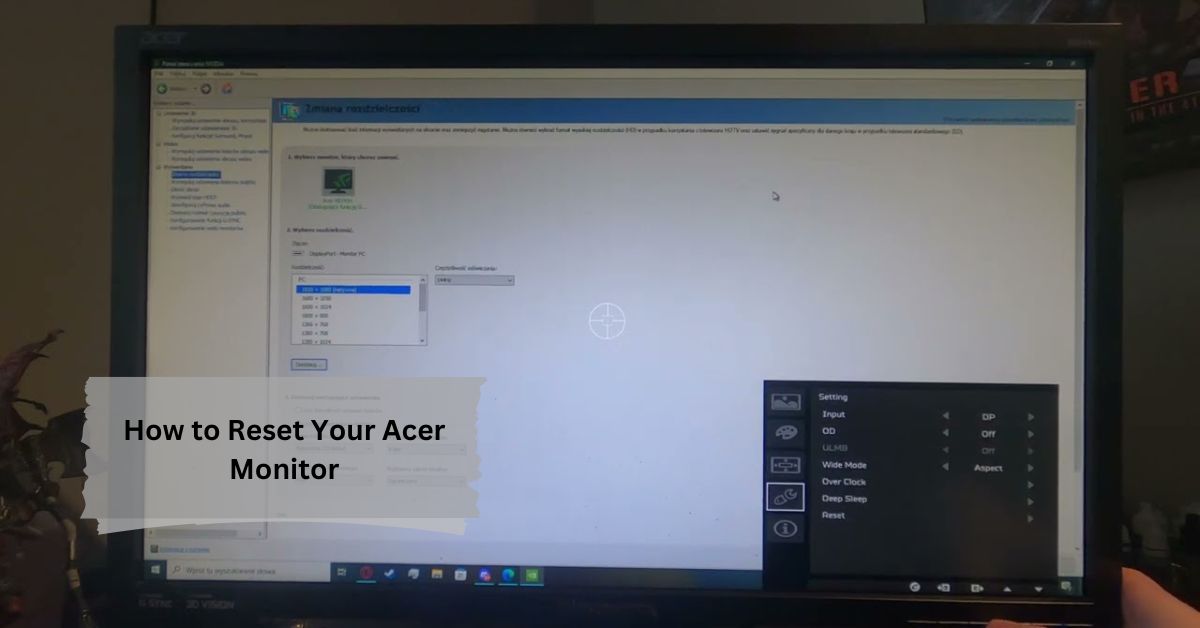
5. Acer Monitors
Acer monitors are commonly used for gaming and general use. To reset:
- Access the OSD menu by pressing the Menu button.
- Navigate to the System or Settings section.
- Choose Reset or Restore Defaults and confirm.
Additional Troubleshooting Tips – Read it!
If resetting your monitor does not resolve the issues, consider the following steps:
1. Update Your Graphics Drivers
Problems with display may arise from outdated graphics drivers. Make sure you have installed the most recent drivers:
- For Windows users, visit the Device Manager and update your display drivers.
- Mac users can update their drivers through Software Update in the System Preferences.
2. Check Monitor Connections
Loose or damaged cables can lead to display problems. Check the following:
- Power Cable: Ensure it’s securely connected to both the monitor and the power source.
- Video Cable: Make sure the HDMI, DisplayPort, or VGA cable is firmly connected to both the monitor and your computer.
3. Test with a Different Cable
Sometimes, the issue lies with the cable itself. Try using a different cable to rule out this possibility.
4. Adjust Resolution and Refresh Rate
Incorrect resolution or refresh rate settings can cause display issues:
- Resolution: Adjust the resolution to the native resolution of your display.
- Refresh Rate: Adjust the refresh rate in your computer’s display settings for smooth visuals.
When to Seek Professional Help
If resetting your monitor and following the above troubleshooting steps doesn’t resolve the issue, it might be time to seek professional help. Contact the manufacturer’s customer support or take your monitor to a certified technician.
Conclusion
Resetting your monitor is a simple but effective way to fix many common display issues. Whether you’re experiencing color problems, flickering, or unresponsive controls, following the
steps outlined in this guide can help you restore your monitor to its optimal performance. Always remember to document your current settings before resetting, and don’t hesitate to explore further troubleshooting options if necessary. With a reset, you can ensure your monitor delivers the best visual experience possible.
FAQs:
Why should I reset my monitor?
Resetting your monitor can fix display issues such as distorted colors, screen flickering, and unresponsive controls by restoring it to its factory settings.
How do I access the monitor’s reset option?
You can access the reset option through the On-Screen Display (OSD) menu by pressing the Menu button on your monitor and navigating through the settings.
What happens if the monitor reset doesn’t fix the issue?
If resetting doesn’t resolve the issue, try updating your graphics drivers, checking cable connections, or adjusting the resolution and refresh rate.
Do I lose my custom settings after a reset?
Yes, resetting your monitor will erase all custom settings and restore the monitor to its default factory settings.
How can I reset a specific brand of monitor?
Different brands have unique procedures, but generally, you access the OSD menu, find the reset option in the settings, and confirm the action. The guide provides specific steps for Dell, HP, Samsung, LG, and Acer monitors.















Leave a Reply